Yes you sure can!
Requesting extra guest information is really simple on OutSavvy. OutSavvy captures the first name, last name and email address for each order but you may want to capture extra information from guests to help facilitate your event. Once you have published your event to OutSavvy simply browse Guest Management > Extra guest information in the Dashboard menu. Read through the instructions and click the Start button when you are ready to begin.
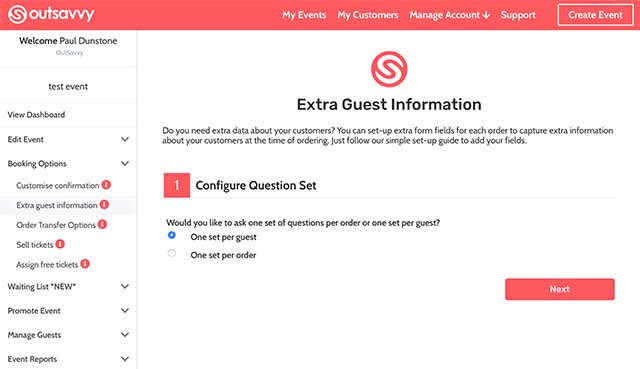
1 Select information per order or per guest
If you only need one set of answers per order then select the option "one set per order" option or if you need information per guest then select the "one set per guest" option.
2 Choose from standard fields
If you configured to collect one set per guest you can now select from some standard fields. If you need to collect the first name, last name or email address from each guest then select Active and Required as necessary. It is important to use these standard fields instead of creating your own if you want to capture this information as these fields ensure these details are used on guest tickets/printing name badges etc.
3 Set-up your dynamic fields
There are a number of options available to you when setting up dynamic form fields. Click on the Create New Question button under the Dynamic fields section. The list below will help you decide which form field is right for you:
Select this field to ask your customers a question which doesn't have a list of selected values and instead requires a free text response.
Use this option to ask your users a Yes/No question. Set the field to be required to create a confirmation.
The multiple choice checkbox allows you to upload multiple options and allow the user to select as many answers as they like. Make this field required so your customer has to select at least one answer.
A list of options for your user and the option for them to select only one answer. Make this field required to force your customer to select one answer.
Similar to the radio button above but presented as a drop down list.
If you require a date to be entered then select this option. The date field ensures a valid date is entered.
The address field automatically creates an address control and asks for the users address, town and postcode.
A specific field that allows you to capture mobile phone numbers. The field applies basic checks to ensure the format of the phone number is correct
TIP: You can set-up as many controls as you require but it is always worth remembering that long forms might put customers off completing the sale.
4 Configuring multiple choice fields
If you have selected a multiple choice control type you will need to enter all your choices before confirming the field. Add your choices one by one by entering your choice and clicking the Add Choice button. Once you have entered all the options click the Add Question button to add the field.
5 Confirming your fields
Once you have entered all the form fields select the Confirm button and your form fields will go live on the website and app.
To download the extra guest information just select Event Reports > Event Reporting from the Dashboard menu and ensure the 'Dynamic question responses' checkbox is checked.
You can edit and turn off fields as well as making the whole form inactive in the Extra guest information page.